Windows Backups to NAS with Acronis
by Andrew Kroh
What do you do when you power on your PC all you hear is a click, click, click coming from the hard disk and it never boots? Unless you have a backup it's game over for any data on that disk; you just lost your pictures, music, movies, emails, and applications. That's a position you'll never be in if you have a sound backup strategy. Acronis True Image Home can help you achieve this goal.
I recently put Acronis True Image Home 2011 to the test as you should any backup software you are relying on. I tested the most important features to make sure they work.
- Perform nightly backups (full and incremental) to a network drive (or USB drive).
- Restore individual files from the backups (you can select which version).
- Restore an entire disk (even if it's a different size).
Performing Backups to Network
Installing Acronis was simple and painless. Once installed I created a scheduled nightly backup of the entire disk that gets backed to a network drive. The task is configured to first perform a full backup each week followed by differential backup for the remainder of the week. I kicked off a full backup after creating the scheduled task; it took about 20 minutes to backup my 15GB disk that contained 10GB of data. Acronis created a 5.5GB .tib file for the backup. This is a proprietary format that can only be opened by the Acronis software on Windows. I kicked off a differential backup two days later that resulted in a sequentially named .tib file that was 600MB.
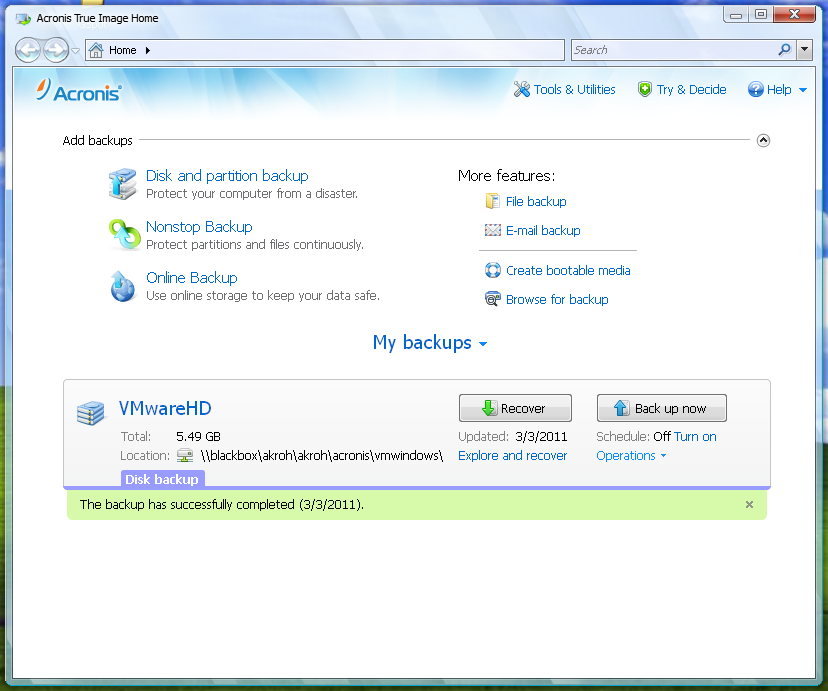
Figure 1: Main screen on the Vista like Acronis user interface. Showing one backup named VMwareHD.
Individual File Recovery
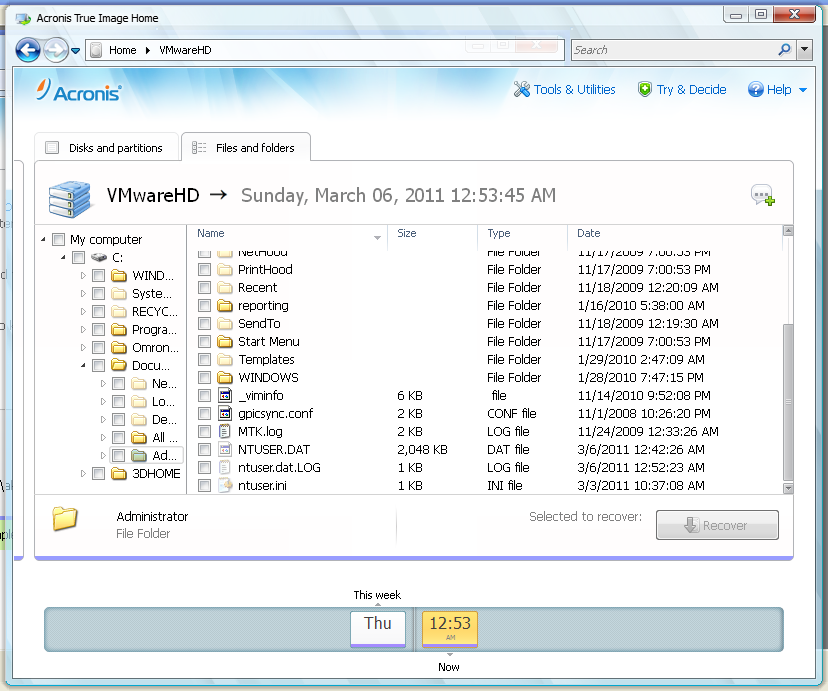
After creating the backup I wanted to test individual file recovery. The only way to do this is from the Acronis user interface. You have two options. You can use the file browser in Acronis which will allow you to view the version history of the file and select the one you want then recover to the the original location or a location of you choosing. Or you can mount one of the .tib files to the filesystem and recover the files in that version using Windows explorer.
Figure 2: Acronis backup explorer with version history for recovering individual files.
Full System Recovery
The true test of a backup system is full system recovery. I tested restoring my backup to a larger disk. First, boot the system up using an Acronis recovery CD. Then you select the location of your backups which in my case was on the network. After making the selection you can choose what to restore. Following the user manual's directions for restoring to a larger disk, I selected to restore the C drive and then opted to modify the partition size to take full advantage of the disk space available. I clicked restore and things were finished in about 20 minutes. I closed the Acronis utility, removed the boot CD, and booted into my restored copy of Windows.
Acronis was simple to use and performs well. It has plenty of other features, but these are the important ones for me. I'm now using Acronis True Image Home to backup all my Windows PCs to a NAS.
Subscribe via RSS


